Preparation for print workshop today with Mike Flower was really useful. I would have got a lot more from it if I had a basic grasp of Illustrator but I just can't for the life of me operate that software. We were told to create a basic image to demonstrate colour separation and to say I was baffled would be an understatement.
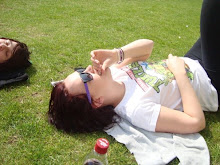
Instead of trying and failing at something I don't vitally need right now I decided to apply the same concepts to Photoshop using one of Holly's photos, which I intend to print.
Firstly, I had to convert the photo from RGB colour scheme to CMYK - the image lost a lot of its vibrancy but CMYK is essential for screen printing. You can then see the four different colour layers in the 'channels' tab in the panel on the right.
Then, you simply go to print, ensure you print B&W, scale to the desired size (printing on paper the next size up eg. A4 image on A3 paper) and amend the options.
From the 'colour management' menu select 'separations'. This will give you the four different positives you need. From the 'outputs' menu, tick the boxes titled 'registration marks', 'corner crop marks', and 'labels' - this will keep allow you to align your layers when printing.


No comments:
Post a Comment